
Home
More Prints 2025 - 1/2
- Details
- Category: Original Design
- Hits: 490
Mini gallery of prints and designs I have produced so far this year. Not ALL of them but my chosen few.

New Design
- Details
- Category: FDM (Fused Deposition Modeling)
- Hits: 566
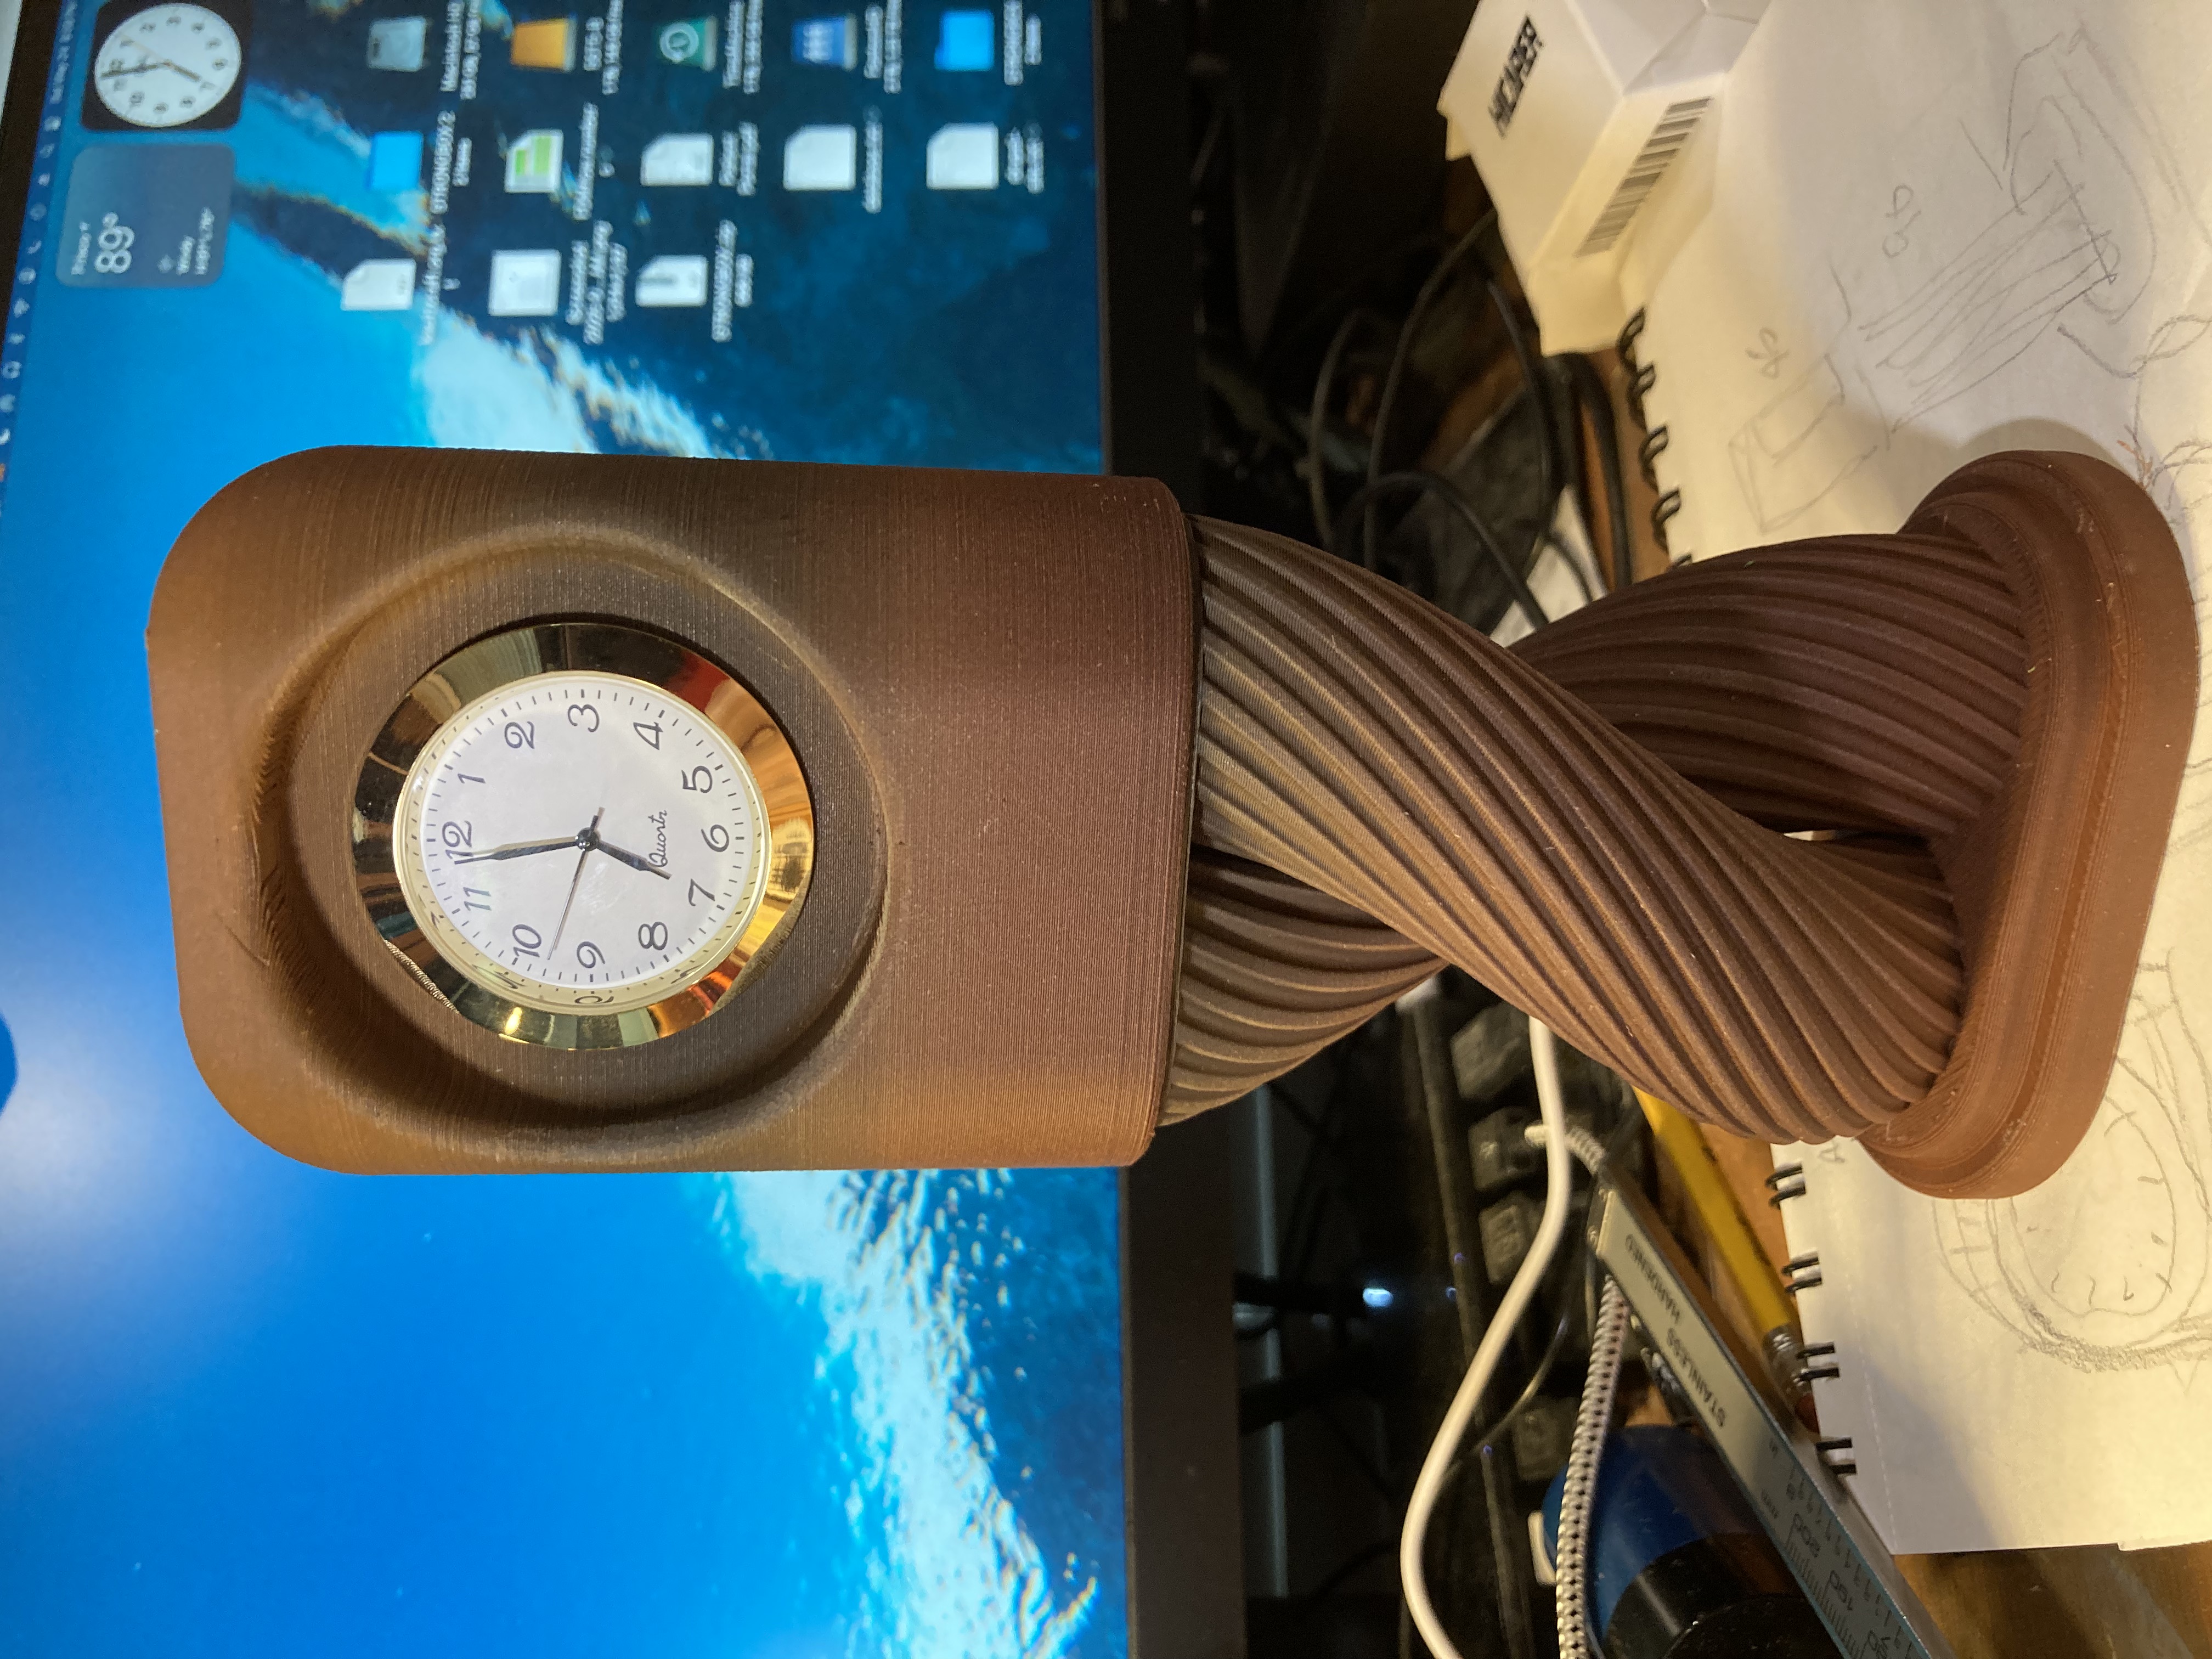
Here is a new design I created with FUSION (Autodesk)
Printed on the Creality K2 PLUS FDM printer using Amolen PLA Shiny tri color (black, yellow, green) filament.
Using 0.4 nozzle and 0.2mm layers. Print required exactly eight hours print time.
140mm widest point and 110mm tall. shell is 5mm near bottom and 2.5mm at the top. There is a taper bottom to top in wall thickness.
I think it came out extreamly well! :)
Gallery 2/2025
- Details
- Category: Gallery
- Hits: 508
Recent designs created and printied up to February 2025. All are original design except the two pictures containing the stone carved B&W head images I obtained from the HueForge forum.


K2Plus With CFS
- Details
- Category: Hardware
- Hits: 953
Update to the K2Plus with the CFS (Creality Filament System)
I have worked with the CFS for a couple of weeks. No problems with its operation and I enjoy having it available.
Page 2 of 4
