- Details
- Category: DLP (Digital Light Processing)
- Hits: 958
 My old interest was stimulated by a fellow 3D enthusiast to go do some MSLA (Masked Sterolithography) 3D resin prints. I have all the necessary equipment but have not been actively printing using the process for many months.
There is no question that almost every type of SLA printing produces the finest resolution and details in 3D prints for a hobbyist printer. The low cost of MSLA brings it into reach of the average hobbyist budget.
This post is not about the pros and cons of the process. I like MSLA because of the superior details it can reproduce without the layering lines of FDM (Fused Deposition Modeling) filament printing.
I can endure the efforts and materials required for MSLA printing because I truly enjoy the results. Usually very high quality.
That does not imply that every print is perfect without effort. Also not every design is a good candidate for MSLA printing.
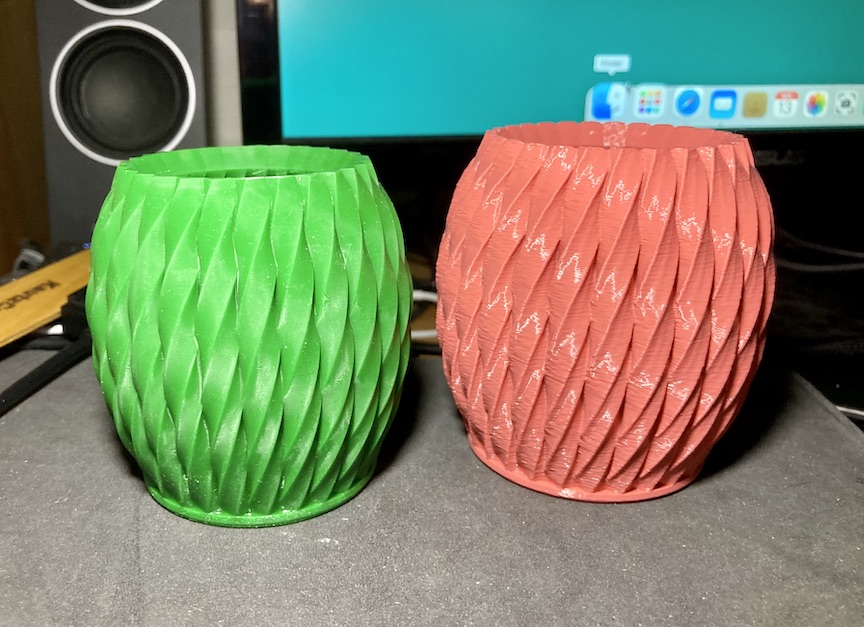
Shown in this post is a very small razor blade storage box and a small vase. Both of which are my designs and have previously been printed using FDM and now using MSLA.
The red vase is extruded PLA+ and the green is photo-resin. The green was also scaled 95% so it wold fit on the Anycubic Photon Mono SE printer shown in other pictures. Stand way back and they both look good, but look close, there is a big difference.
I am now stimulated to do a few more MSLA prints. I have plenty of resin and I have the time. There is no excuse. I don’t need one. I just love the high quality results.
Printer size limits the range of prints I can do. Not yet in the market for a larger printer. If I get bitten harder by MSLA and need to create larger or higher quantity of items, then that will justify a larger system. The reality is the larger printers are not a good choice for small “onesies” prints. Printer size should be chosen for the item print size or number of multiple prints desired.
Printing ten items on one build plate takes the same amount of time as printing one item. Not less material but huge time advantage. The full build plate area is exposed (printed) at one time in a few seconds.
This may be the start for me doing more resin prints. I’ll go where the results take me. It depends on what I can design and if other folks like what they see with resin based printed items.
Many options to explore and enjoy.
- Details
- Category: DLP (Digital Light Processing)
- Hits: 1070
 First Print FAIL!Using UV sensitive resin for 3D printing has many process names.
DLP (Digital Light Processing) Is a 3D UV resin printing process using image projecting much like a slide or video projector.
SLA (Sterolithography ) is a 3D UV resin printing system using a rapidly moving LASER “flying spot” (like a CRT screen) to trace thin lines and fill-in solid layer areas to cure the resin
What I am using is MSLA (Masked Sterolithography) process where a full layer image is created on a video screen mask and the complete resin layer is exposed all at one time like a contact photo negative.
All of these processes expose one very thin layer (0.01mm to 0.15mm thick) to the UV light and build a “stuck together” stack of these layers to create the complete 3D item.
I have just rekindled my interest in 3D high resolution resin MSLA printing with a new higher power printer than my previous MSLA machine. The printing area is the same, so it is not larger. The UV (Ultraviolet) Light source is stronger, and the digital video mask is much better quality. The Z axis far more rigid (a good thing) and the electronics are much better. Overall a far better print system.
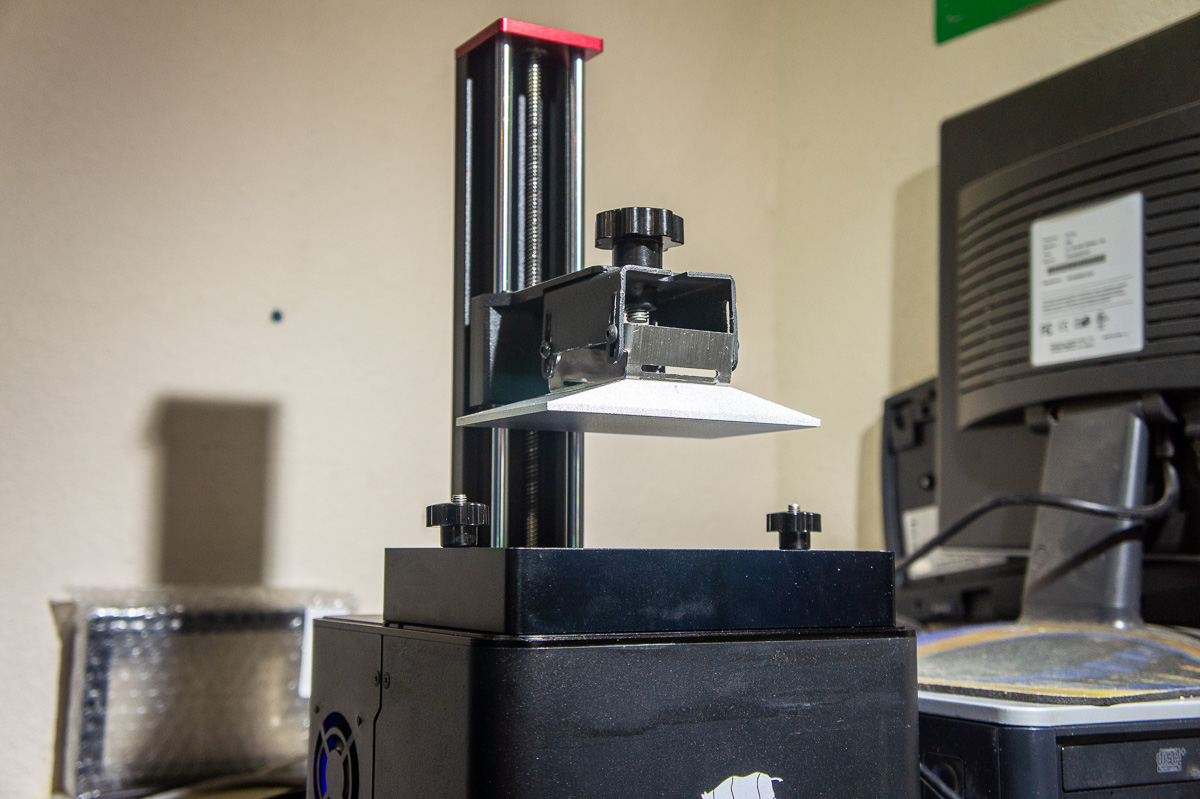
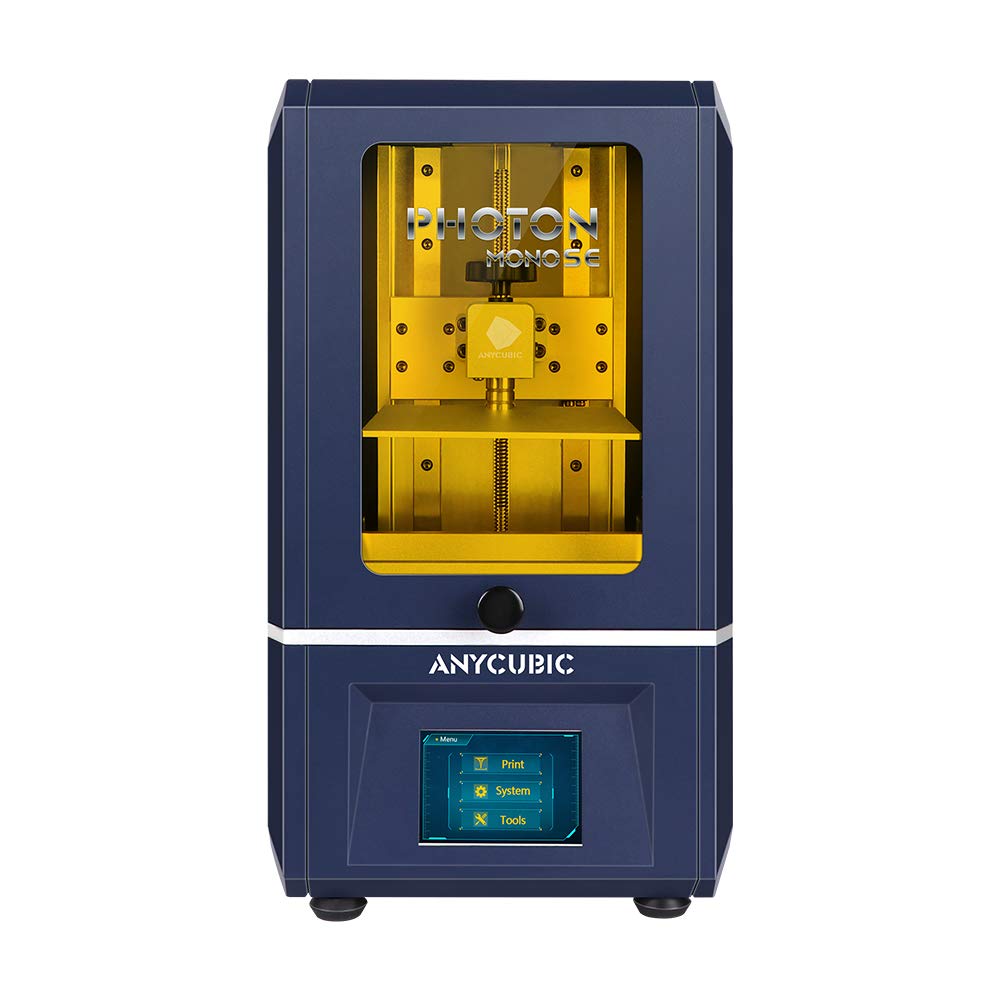
This is the Anycubic Photon Mono SE 3D MSLA resin printer
It is Chinese made as almost all printers in the hobbyist price range. (Under $300). Commercial equipment USA made is typically $5K to $10K, far out of my range and desires.
My intent is to use special purpose castable resin to produce master models for “Lost Resin” type casting in silver and other metals. Exactly like “Lost Wax Casting.” Not implying that this will be the only use for the MSLA resin printer.
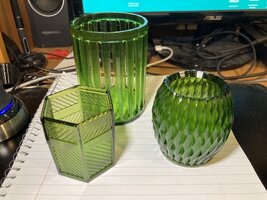
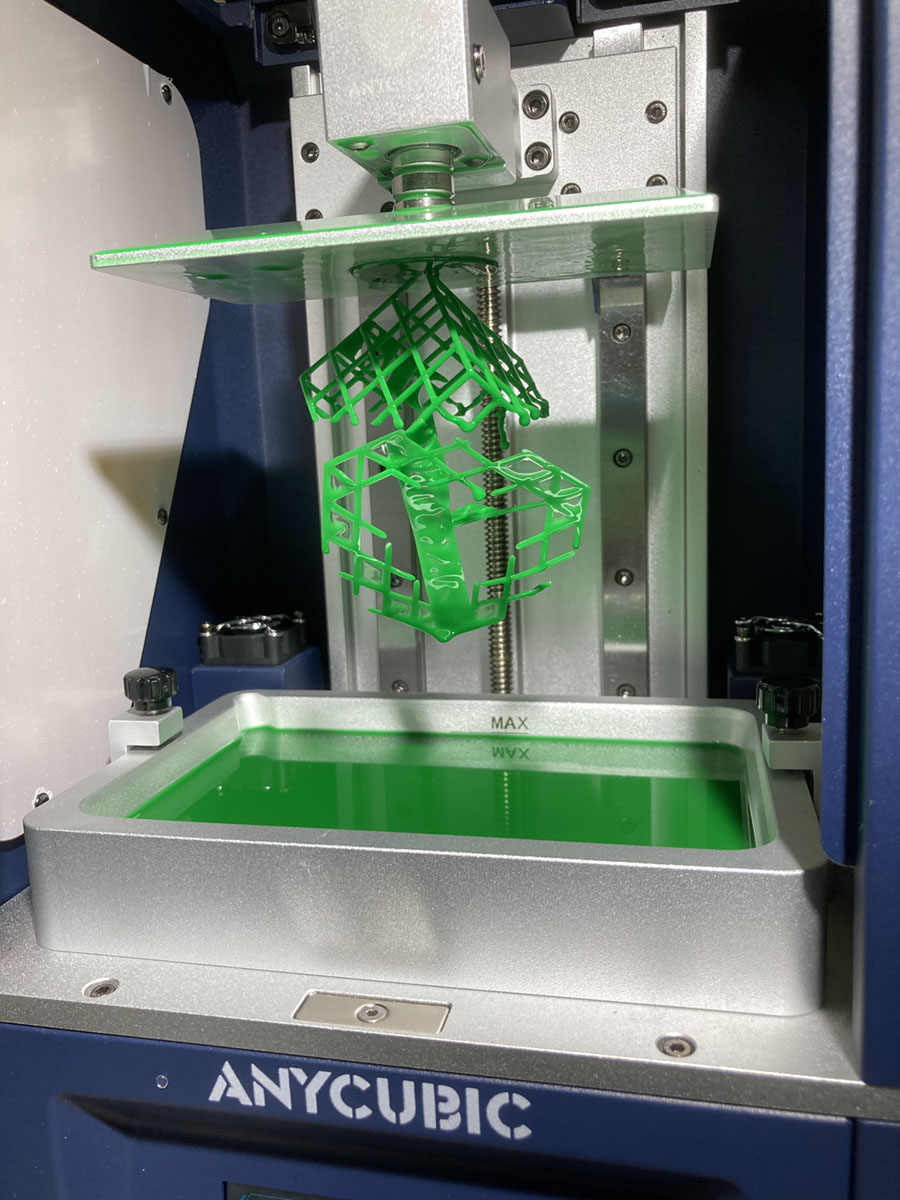
Shown here are a few Junque prints in standard green resin I printed as part of the “shakedown cruise” of this new printer. (Yeah, I am ex-Navy.) I have already made a solid brass casting of the gnome (pointy hat figure) from a PLA plastic 3D print.
I have generally become dissatisfied making what I call useless plastic Junque. I have consumed a lot of plastic in the last few years, making many plastic “display” items of very low value and usefulness. I desire to avoid this trend with resin prints.
Making high quality master models for metal casting is a good 3D print application. So, a focus on designs that do not fall into my useless Junque category is my intent. There will be relapses, I am sure. Sometimes I just want to print Junque. It’s not a real crime.
Let’s see how well I do…
- Details
- Category: DLP (Digital Light Processing)
- Hits: 891
 So-what if it is a Bogart/Casablanca misquote. Get over it. HA!
The meaning is still the same. For me, I am saying I am going to revisit my attempts with Resin based high-definition 3D printing for making master models for casting metal jewelry items.
Using wax master models (in lost wax casting) remains the ultimate choice for me in high quality models and excellent burn-out in the casting process. The attraction of 3D prints is for making detailed models that cannot be hand carved or 3 and 4 axis machine-milled in wax.
The very best surface finish quality 3D prints are made using photosensitive resins and extremely small (0.035mm) layering. My previous attempts with 3D printed masters resulted in inconsistent burnout of the resins from the mold investment.
The solution is to use only the very best (and expensive) casting resins specifically designed for clean burn-out. Those resins required a printer of sufficient power to completely cure the resin on exposure.
My WanHao D7 shown elsewhere on this website is/was not quite up to the job on slow cure resins. The casting resins I could use with the D7 gave me inconsistent results as mentioned above. I abandoned my attempts, and much time passes.
My residence suffered a direct lighting strike last year. I just now discovered the Wanhao D7 must have suffered some damage from the EMP of the strike. The electromechanical parts, the cooling fans, start but the printer is unresponsive to computer inputs. I never thoroughly tested the printer after the strike as it wasn’t being used.
It’s a mixed blessing and curse. Total replacement of the electronics is about $200. But newer and far better 3D printers of this type now exist. The hardware is so improved, it is much better to upgrade than repair.
I have replaced the Wanhao D7 with the Anycubic Photon Mono SE.
The physical size/print capacity are nearly the same with both. The mechanical and hardware difference is a giant leap improvement in the Photon Mono SE. Prime improvements are dual Z axis linear bearings, anti-backlash z axis drive, huge UV exposure improvement in Light unit and 2K mono video screen.
Enough improvements in hardware that I am willing to re-visit 3D prints for use in metal casting masters.
I will cover the casting results in my KautzCraft Studio Blog. The new resin 3D printer shown here will from this point be the AnyCubic Photo Mono SE. The Wanhao D7 Rhino is now a goner. It was fun and useful while it lasted.
- Details
- Category: DLP (Digital Light Processing)
- Hits: 1372
 The stock build plate on my Wanhao D7 Duplicator is a flat aluminum plate. It has worked well except fo a couple of exceptions.
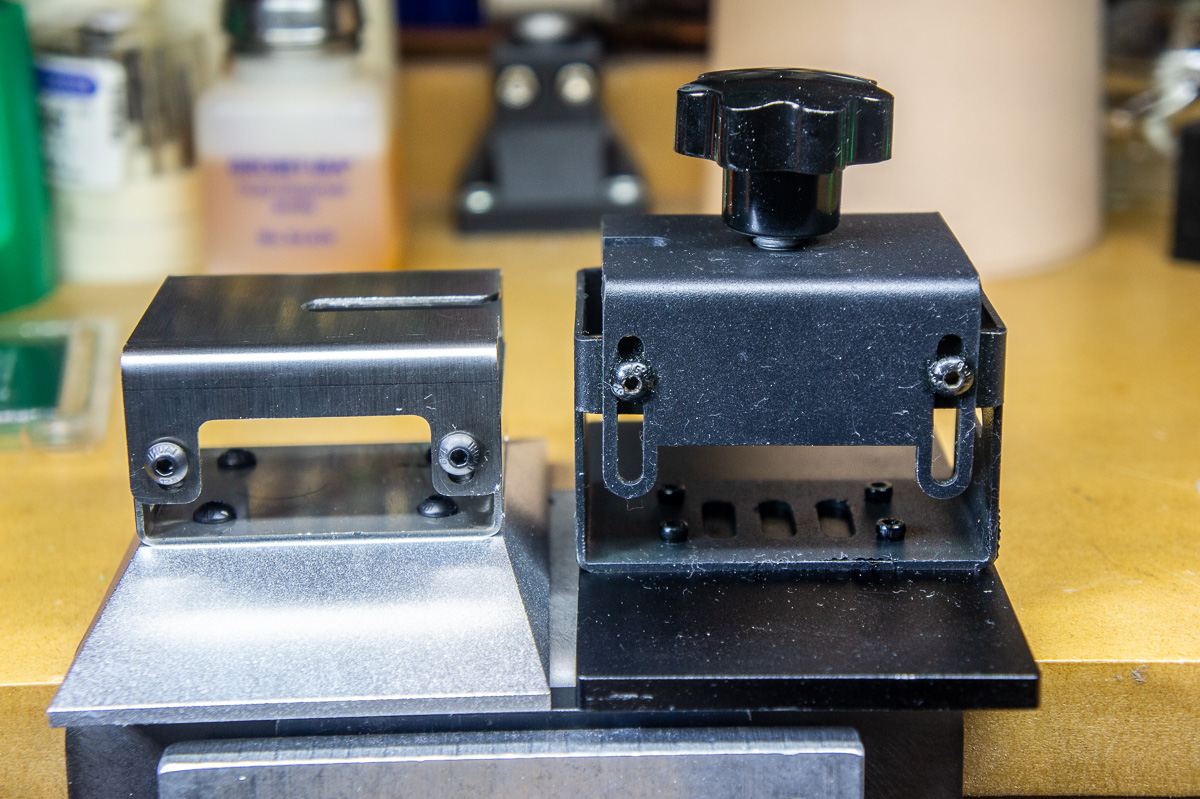
First is it is very dificult to clean as the resin overflows the top of the plate and floods into bracket area where there are four screw heads and for some reason, several narrow slots that trap the resin. I have been able to clean the area with a bath of IPA and a one inch paint brush, scrubbinng into that small area.
Second, the print surface is highly polished and sometimes prints fail to stick. I solved that issue by using a flat, fine whetstone and while under running water, polishing off the shine to a flat mat finish with a bit of "tooth" for the curing resing to grab. This was an excelelnt modification.
Third, the bracket and plate are PAINTED and the black paint was starting to degrade from the resin and IPA exposure.
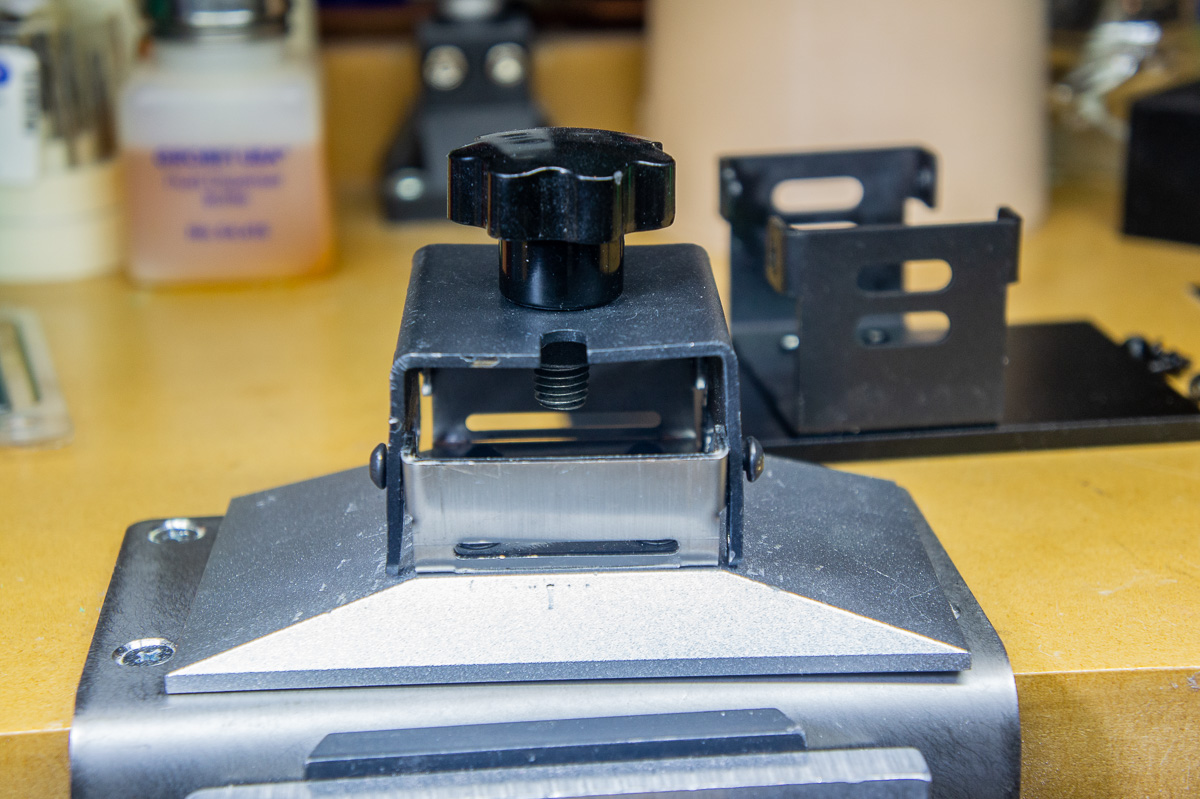
The new EPAX3D build plate is a cast aluminum with a sloping top to assist the resin draining off the upper surface. It is also cast aluminum with what should be a very "grippy" build surface. Definately not polished. It also has NO painted metal surfaces. Priced at $65 postage included.
My workshop here in Texas is currently at 100+ degrees. Too hot to run the printer or work out there, so it will be a week or so before I can test this new build plate.
The brackets look very similar but are not exactly the same. I had to do some bending and tweaking but I was able to get them working together without any additional parts. The fit has to be loose enough so the leveling can be done without damage to the video screen. The plates are also slightly different in all dimensions but no problem fiting the vat on the D7.
The new plate will displace slightly more resin on the down stroke, so I will have to pay attention to fill levels in the vat. Not an issue, just a caution.
The pictures will show the rest of the story. As usual, click on a picture to enlarge it.

