

- Details
- Category: FDM (Fused Deposition Modeling)
- Hits: 558
Here is a new design I created with FUSION (Autodesk)
Printed on the Creality K2 PLUS FDM printer using Amolen PLA Shiny tri color (black, yellow, green) filament.
Using 0.4 nozzle and 0.2mm layers. Print required exactly eight hours print time.
140mm widest point and 110mm tall. shell is 5mm near bottom and 2.5mm at the top. There is a taper bottom to top in wall thickness.
I think it came out extreamly well! :)

- Details
- Category: FDM (Fused Deposition Modeling)
- Hits: 728
I have two Creality brand 3D printers in my studio. The first is the K1C with a 220 x 220 x 250 (XYZ) build area. The second is the K2Plus (K2+) with 350 x 350 x 350 build volume.
The K1C is the baby brother to the K2+, but a very good baby brother.

- Details
- Category: FDM (Fused Deposition Modeling)
- Hits: 773
Filament Drying
I have been doing some thinking about the subject and process of 3D print filament drying systems. I own one branded from SUNLU but there are many other that work on the same concept.

- Details
- Category: FDM (Fused Deposition Modeling)
- Hits: 897
Discovered an interesting fault with the use of steel nozzles in brass heat blocks.
Steel nozzles are recommended for abrasive materials FDM printing. There are also ruby and even diamond tip nozzles to “reduce wear”.

- Details
- Category: FDM (Fused Deposition Modeling)
- Hits: 930
Tiertime and it’s firmware and software have always marched to their own drum. It’s their way or the highway for most features. They do permit a very tiny smattering of Marlin-type G-code. I have been able to run the original Cetus with Simplify3D slicer. But some settings are very strange. Standard flow is 20 rather than the “standard 1”.
I have become proficient with the Tiertime slicer(s) UPStudio and now UPStudio3 and use them for all CETUS printing.
This post I want to mention the unique “feature” of the original CETUS and it’s bed leveling. It has none. No mechanical leveling that is.

- Details
- Category: FDM (Fused Deposition Modeling)
- Hits: 987
First impression of the new version 5 of Simplify 3D (S3Dv5) printing slicer is that it is like putting lipstick on a pig. It may dress the pig up a bit but it is still a pig. Albeit a pretty pig.
That’s not kissing the pig. It just my general reaction of this very overdue upgrade from version 4.1.2.
So, this is my initial impression of the update and not a repeat of all of the new features. If one needs to know what has changed, read the marketing propaganda straight from the company web site HERE. Note: First Impressions are subject to change...
- Details
- Category: FDM (Fused Deposition Modeling)
- Hits: 895
 The everyday nozzle hole size for FDM filament printing is 0.40mm. It is the default standard. Not every printer follows the crowd. MakerGear uses 0.35mm as their standard size nozzle.
Nozzle hole size is one factor that determines possible extruded line width, height and extrusion amount. Those are variables that are altered depending on size and strength of the item to be printed.
Bigger hole size is of course more plastic flow and smaller is less. But there are other adjustable variables that affect the actual flow amount. It’s all a game of balance and tuning to get the exact extrusion flow desired or required for a good print.
The smaller the hole size the more critical all the adjustable setting factors become and lowers the flow rate considerable amount. Also greatly increasing the print time.
Standard range for nozzle hole size is between 0.20mm up to 1.0mm on hobbyist machine with 0.20mm to 0.60mm (0.40mm standard) as the most common.
I have used the 0.20mm size nozzle on occasion. Used mostly for very small prints of very high detail. Also requires very long print times.
Today I have been using the 0.60mm nozzle on a small project. I see that I have been missing some of the benefits of using the wider nozzle. A wider extrusion is laid down so fill-in and wall pass counts can be reduced and extruding run at higher print speeds. Ninety plus percent of my prints really don’t require printing with a 0.40mm nozzle.
I now realize there is nothing sacred about the “standard” 0.40mm nozzle. It’s pretty much all purpose, but that doesn’t mean it’s the best choice for every print.
I think I will be using the 0.60 size nozzle much more often. Especially where I don’t need super-fine layers and fine details.
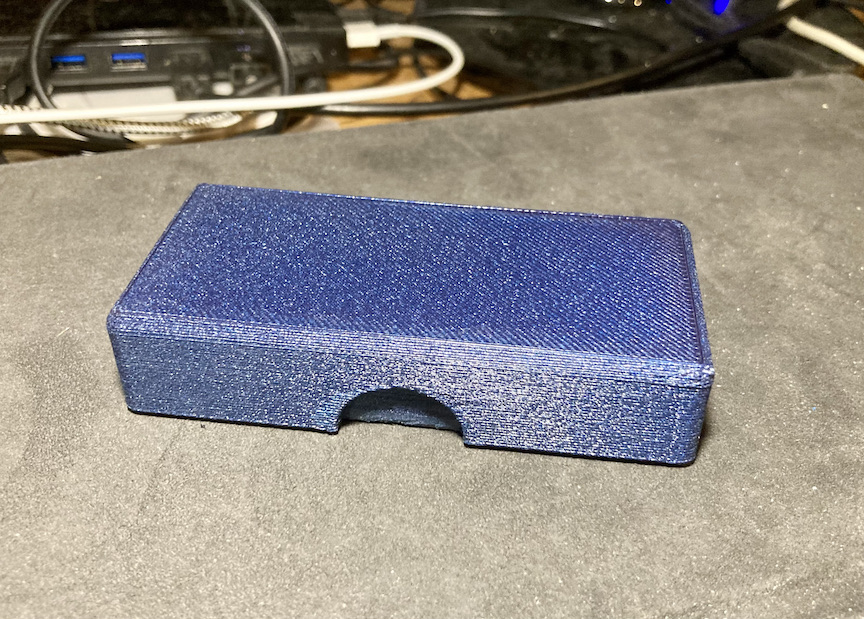
The photo is a small box printed with 0.30mm layer height and a 0.60mm nozzle using PETG. The results are great! Looks like an old pair of blue jeans. The filament is Overture brand called Stary Night (blue). I can see the stars!