In this report I take a look at CETUS2 color change in the normal print process.
I designed a small test bowl with eleven horizontal stripes. Then I created a second version where I divided the bowl into quarters creating 44 sectors where I could alternate the colors within each row.
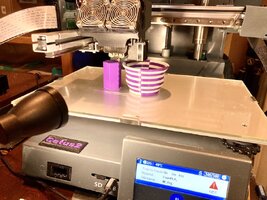
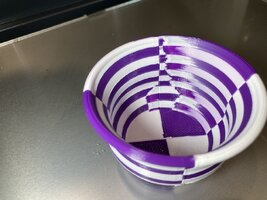
The lead picture displays the three variations of prints that were created.
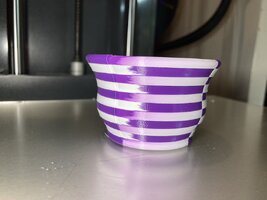
The bowl on the left (#1) is a standard alternating color change in layers. This is the easiest print as there is no color purge required between layers. The short transisional color change can never been seen.
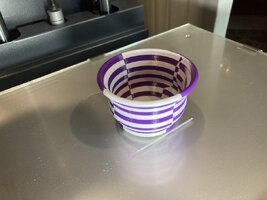
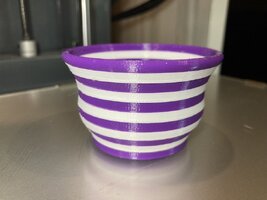
The middle bowl (#2) is the quadrature slicing of the same eleven layers. I alternated the color in each row to produce the checker pattern. There is a purge tower used to clear the nozzle for each color change. It should ne noted the purge tower always needs to be as high as the color changes. The tower is at least four times bigger in diameter than it needs to be just for the purge. This is primarily for stability so it doesn't pop loose from the build plate and doesn't simply fall over.
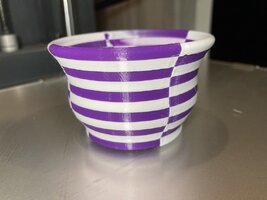
The bowl on the right (#3) is the same as the middle bowl except the purge tower was disabled. The print made color change doing no remote color purge. The nozzle simply switched to the new color on the jump to the new color area when required. Not exactly the same as "on the fly" switching as here there is a stop and a jump move to the new color block.
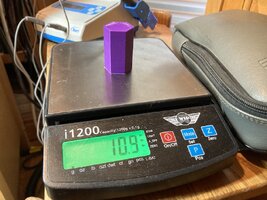
One photo shows where I weighed the purge tower and it is 10.9 grams. With a $25/kilo filament cost that is $0.2725 worth of material. (28 cents) Just in case you need to know. For me that is insignificant cost, but as I have said, "It is plastic I could use for another print." Waste and "scarf" are just a necessary by-product of manufacturing, and of couse should be kept to a reasonable minimum.
More explantion is included with each picture. Expand the picture to view larger.