OK, Lesson Learned
I usually take the short path with many of my “not too serious” 3D FDM prints. By that I mean I don’t always set-up for proper support and using a raft for best build plate adhesion.
I tolerate a dropped edge filament strand on an overhanging edge or a slight bit of edge warping on plate adhesion.
But that is not the way to make truly outstanding FDM prints.
I am presently on the third re-start of a new FDM print I designed.
It has cost me 2X the time and materials from what is required if I had spent the set-up time (rafts and support) and started the first print with them enabled.
But what has really grabbed my attention is how much better the entire print (not yet finished) looks with a proper base established.
I see I have been kidding myself about what is truly acceptable quality.
I have been making excuses to myself that I could do better prints if I really tried. Why did I stop trying? Lazy is a good word.
I long ago gave up the “wasted materials” excuse. All creative material use activities have a process of creating scrap and wasted materials. Sharpening one’s wooden pencil produces a bin full of waste.
Reducing waste is commendable, but total elimination is not realistic in real production in real word arts and crafts.
I have been doing a little BLOG “show and tell” with prints from my new CETUS2 printer. The prints have been “very good” but not perfect. A few micro nit-pickers started enlarging the photos and taking exception to a stray filament strand here or there.
It’s their O/C personality problem, but it did send me the message. I could “do” better if I tried. Why wasn’t I trying?
The critiques were not fair judgement of the printer but rather the choices I made in slicer configuration and speeding up print times.
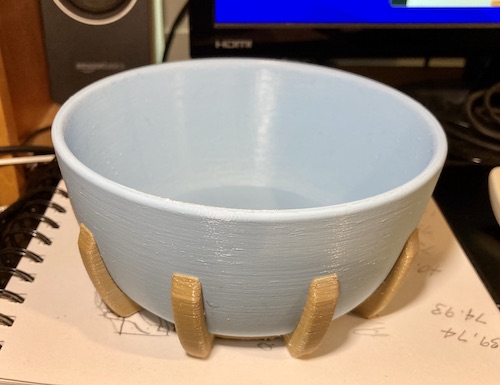
The lead photo shows the third try print with a proper RAFT, Edge Support, and a Purge Tower. It already looks a far better start than the first two…


