
 Three-dimensional printing can be far more than printing one-piece Junque trinkets and plastic dragon skulls. <grin> Here, I go head-to-head with conventional CNC subtractive manufacturing.
I use a CAD/CNC program call Vectric Aspire. Wonderful application for 3D style 3 and 4 axis design and production using overhead routers and milling machines. This project doesn’t use Vectric Aspire. Rather the user forum for this product generated a 3D print design idea.
A fellow in the “Vectric Design Lab” named Todd created this desk lamp. He uses “subtractive manufacturing” (CNC router) to create his design. I took one look and decided it would make a good “additive manufacturing” project for 3D printing.
If you open the video from Todd, the first part his microphone is off. Don’t be alarmed about no sound. He figures it out…
The video is rather long winded for non-Vectric users (and me) but skip towards the end and you can see the finished design. He says to modify and build it any way you want. So, I did…
My first version is an exact copy of Todd’s design. I had to dig deep in his Vectric carve files for dimensions. He uses 2D and 2.5D routing so there are no 3D parts. I redrew all parts from scratch in Autodesk Fusion360 (F360) to create 3D models of the components.
I had to experiment a lot in F360 to get good 7/8-9 thread design to print properly. I made the (prototype) screw knobs round like the original in RED PLA. Rather ugly. I called it my clown lamp. I later did three more sets of “bolts” in white with my new original design and using the very nice working 7/8-9 thread I developed in F360. PLA required a 0.040 gap between 1A and 1B dimensions. Thread design in F360 is a whole other topic for another day.
My STL files have the correct threads.
The lamp uses a battery “puck” lamp so there is no line voltage wiring. If you are interested in this design, you can decide alternative electrics if you desire. The head opening is 60mm and uses the “AAA” battery puck lamps of that size. Source Amazon.com.
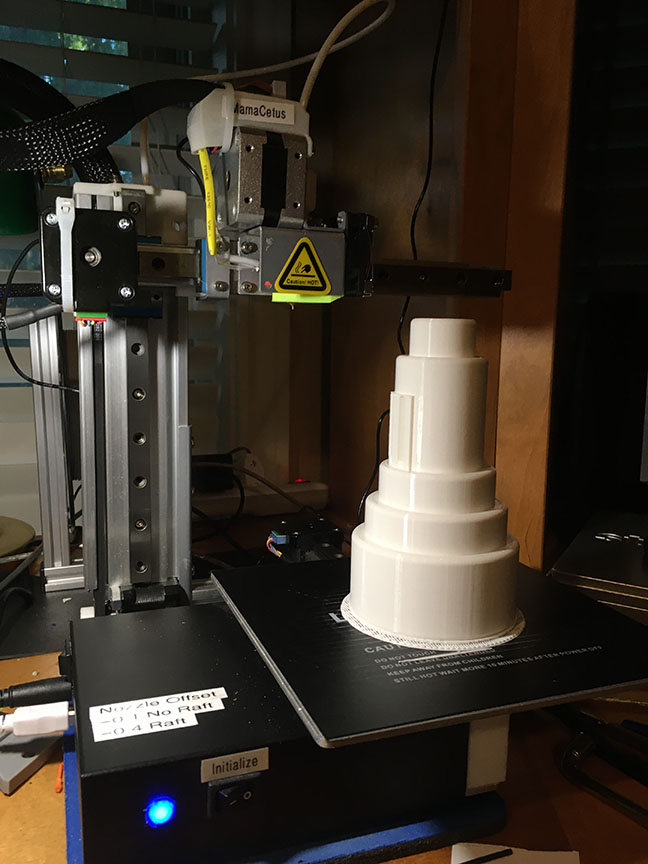
The lamp is larger than it first looked to me. All parts were printed on the Cetus build platform, so a large printer is not required. Longest part is 6 inches (152.4 mm) The original lamp head nearly maxed out the build height on the Cetus, but the new design should not be an issue for any printer capable of printing the base or arms.
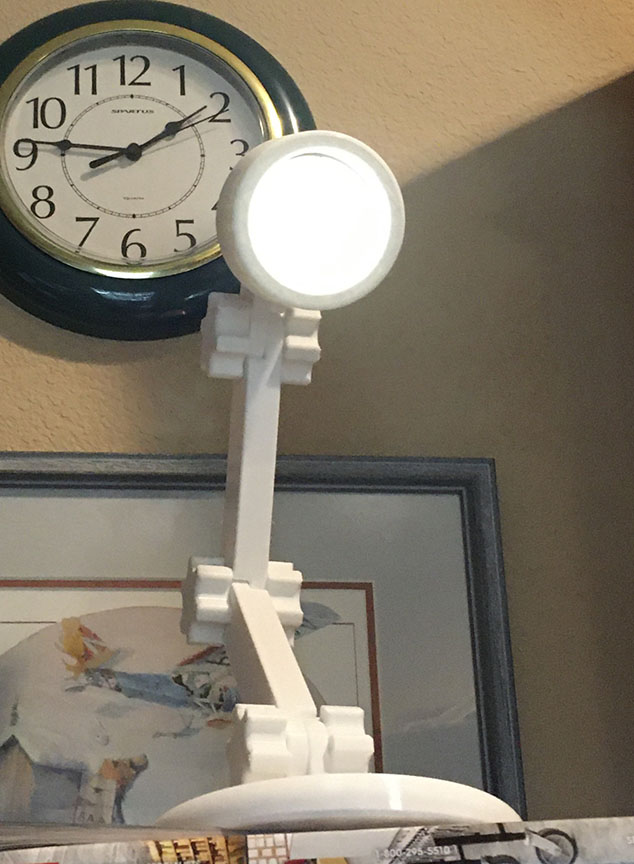
I built the original “Todd” design in white PLA with the red bolt connections. The color combination did not “grow” on me. I was re-designing the lamp and decided the white Ver.1 lamp needed the new design “knobs” in white. I now call it Ver.1.1.
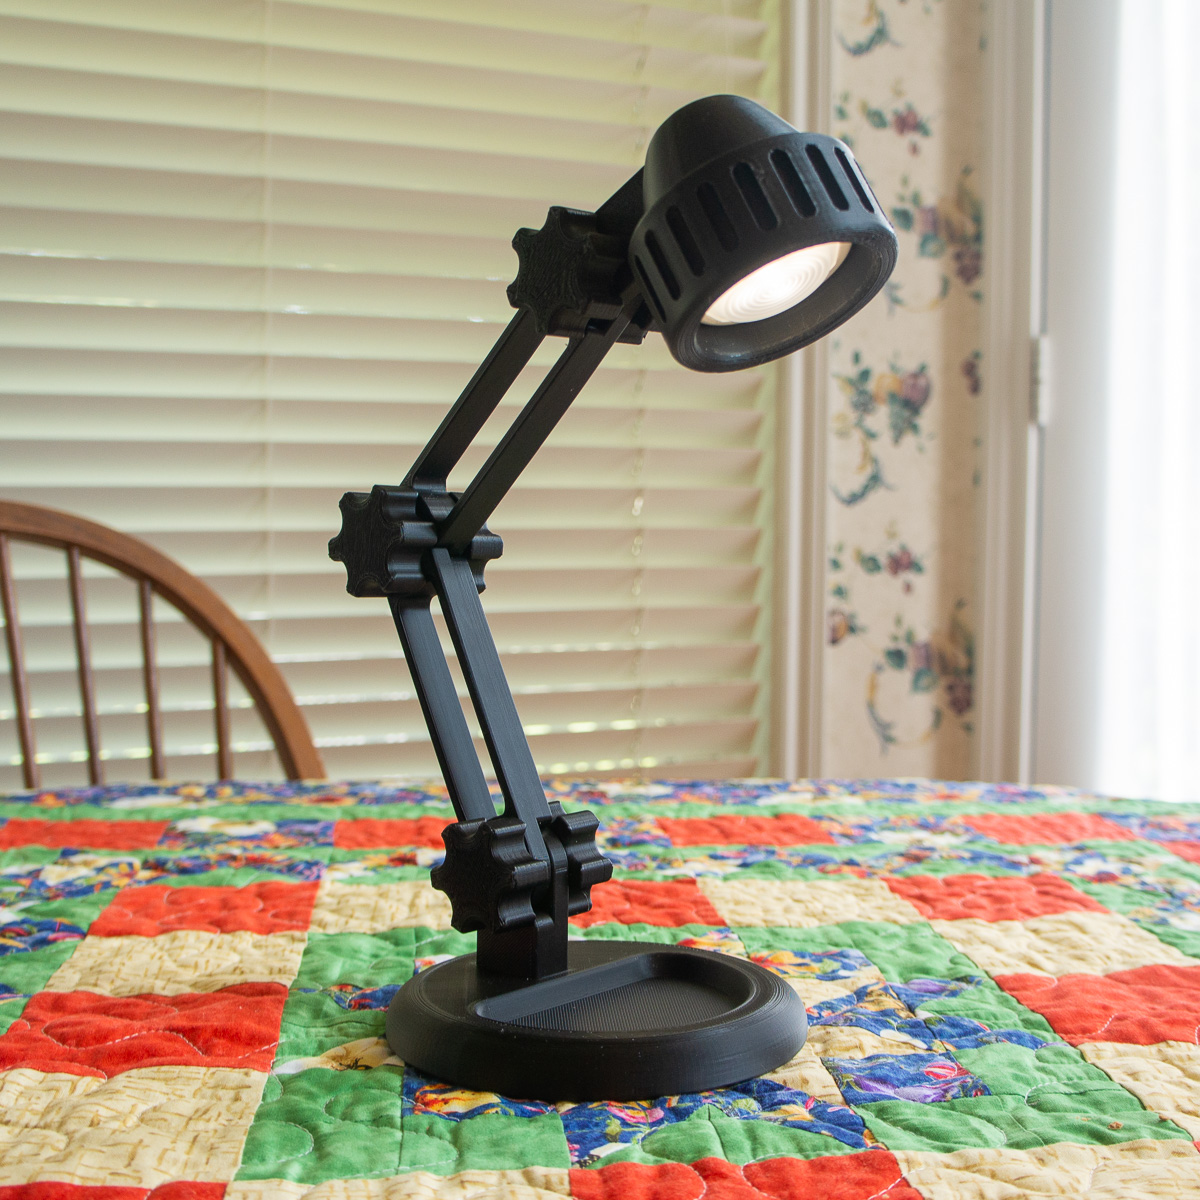
Lamp Ver.2.0 (in black) removes a lot of material from Ver.1.1. I think it is more suitable for 3D additive manufacturing. The open jointed arm is plenty strong for the application. Version one was intended to be a simple project routed from solid wood stock. Todd recommends builders modify his initial design.
There can be many ongoing variations from my Version 2. The limitation question is: “How may battery lamps does one need?” I am good at two and hope to give them to someone. I can always print more if required. No need to build an inventory.
This lamp is a durable product. Not a minimalist material, lightweight display piece. I don’t try to see how much material I can save when printing.
Printing Specifications
I print at 0.20 mm layer height with (minimum) 3 layers top and bottom. Four would be better. Sidewalls are 0.50 mm print width with a 0.40 mm nozzle. The threaded connector bolts and nuts are printed with five (5) shells (layers) 2.5 mm (total) thick sidewalls. This is to produce good solid threads.
All other parts are three (3) sidewall layers (1.5 mm, total) thick.
Infill on arm components is 50% - 60% for added strength. Base and lamp head are printed 10% -15% fill.
PLA plastic is more than adequate strength and prints nice and flat. Feel free to experiment. Exotic materials like carbon fiber are not required but could be a printing brag point… Ha!
Other Design and Application Ideas
The head with puck light design can be used with a smaller base with no arm links. Just the two short stubs. Could be a good accent light for seasonal decorations. The puck lights can be purchased with colored LEDs and will produce many colors and variations as well as remote control.
The pucks are also made in various diameters. The larger use AA batteries for longer life. There are also low voltage A/C wired puck lights for more permanent lighting use. Variations on this theme are many.
 |
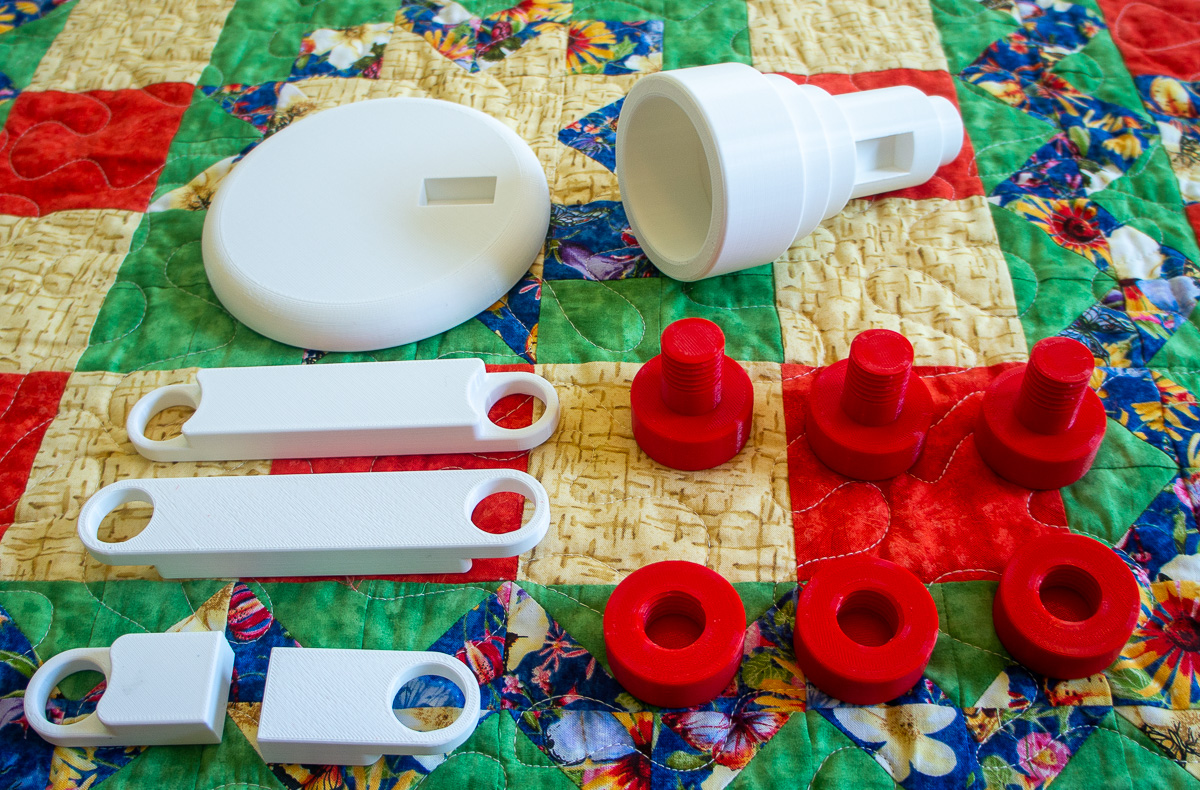 |
| Version 1, Exact copy of CNC version. Gaudy red knobs! | All the printed parts. Red knobs replaced next day. |
 |
 |
| Original head maxes out Cetus print height. | Base maxes out Cetus build plate at 6 inches dia.. |
 |
 |
| Version 1.1 with improved joint knobs | Version 2.0 Nice improvement IMHO! |
The new design (Ver 2.) looks less like assembled from 2x4 lunber. I am happy with both. Puck lights can have other uses. Some of them can randomly change color and would be great for holiday decorative lighting. A base and head (no arm) could be used for decorative up-lighting. Many ways to use the lights and 3D printing.